Back
Magnetic Painting

Magnetic Painting
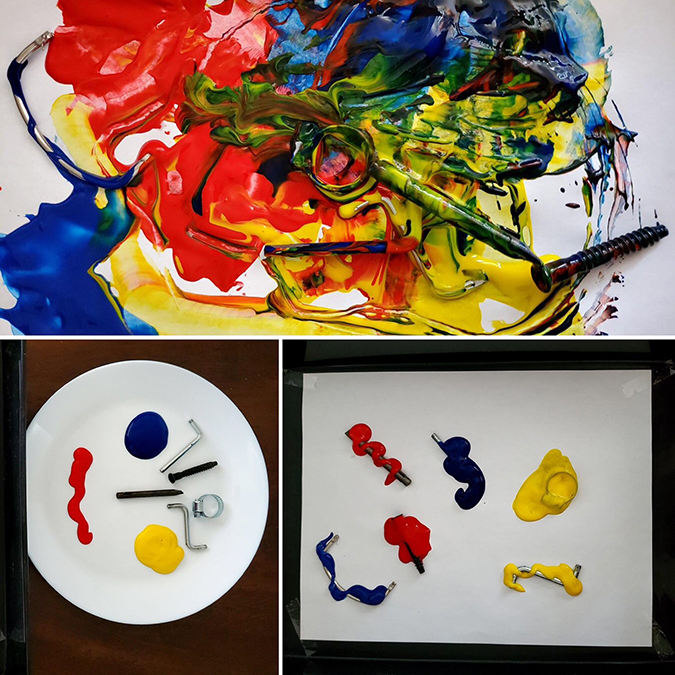
There are so many ways to set up an art project, but today we will combine science and art to create a beautiful and unique masterpiece. Painting with magnets is an exciting way to explore magnetism and observe how colors roll on a piece of paper.
-
- Magnet
-
- Paint
-
- Various metal items
-
- A plastic tray
-
- Tape
-
- Tape the paper in the tray.
-
- Dip the metal pieces in paint and use the spoon to drop them into the tray.
-
- Take the magnet and move it around, under the plastic tray.
-
- Watch the metal pieces roll smoothly around and enjoy the process of creating your own art masterpiece.
Simply invite your child to do this great activity together as a project. Focus on the process of this project rather than emphasizing on the finished product. In fact, there is no right or wrong way to do this activity and this makes the final product unique to each person. If you have different paint colours at home, let your child choose the colours and even the metal items, as the experience revolves around the child’s choices. The process of this activity boosts your child’s social and emotional health by reinforcing skills such as relaxation, focus, and building confidence. You can ask questions such as, “I can see the colours changing when they are mixed together, which colours do you like to mix together?”, “Can you make a line by rolling the metal in the paint?”, “Can you move the metal in a circle?”, “What do you think will happen if we remove the metal/s from the paint? Can we still move the paint by the magnet?”. Open-ended questions provoke deep thinking and exploration.
You may extend this activity by switching the metal items to non-metal items and compare the result.
Tip: Tailor the activity to meet your child at their developmental level. You can either simplify or challenge your child depending on their level. Modify the questions and tasks to challenge their thoughts and abilities in a healthy manner.
PLASP Child Care Services